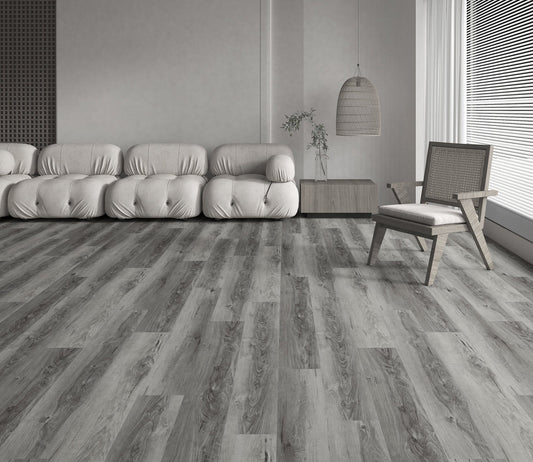
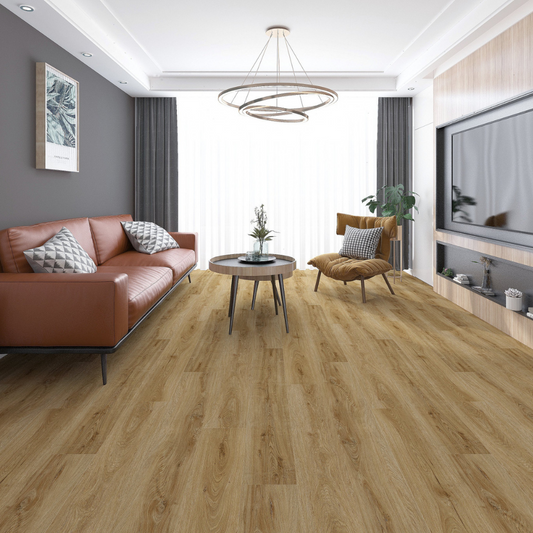
Stone Polymer Composite flooring is a renovator's dream that combines waterproofing, durability and style into one easy-to-install plank that will be at home in any room in the house. If you're new to the world of flooring installations, or a seasoned professional who has not yet heard of this wonderful material, we have created a guide today that will walk you through all you need to know, as well as the essential steps for a simple and hassle-free installation.
We know some of you out there might be more visual learners, and that’s fine, if you click on over to our YouTube Guide, we have a wonderful installation guide waiting for you there.
Preparing for Installation
Preparation has been and always will be, the greatest key to success, no matter the project you are tackling, so let's put that into practice and begin by preparing the floor that is ready for a new installation.
Clear away the furniture from the surface and any skirting boards from the walls that will prevent you from laying the flooring properly. If you are installing your SPC flooring onto the underlying subfloor, then you can begin to remove the old carpet, laminate, or tiles, which will allow us to get a look underneath at the condition of the underlying woodwork.
When SPC flooring is installed, it requires a level surface to do so, so in both cases, whether you are installing onto existing flooring, or clearing the area entirely, ensure that the floor is clean, dry, and free of anything that could cause a deviation in the final installation. In some older builds you may need to repair the subfloor first, which is why we need to pay attention to the preparation and take each step as it comes, for the longevity and quality of the finished floor.
SPC flooring does require an acclimation period, 48 hours to be exact. This is so that the planks can settle into the room and its ambient temperature, which will reduce the likelihood of expansion or contraction occurring during or after installation which can cause planks to buckle or sag and will compromise the quality and success of your installation.
The Tools You’ll Need
The great thing about SPC flooring is that it doesn’t require specialised tools. For most installations, you’ll need:
- A tape measure
- A utility knife (for cutting the planks to size)
- A soft rubber mallet
- Spacers to ensure even gaps between the planks and walls
- And a straight edge for accurate cuts
These basic tools should cover everything you need for a smooth installation.
Preparing the Subfloor and Measuring
As mentioned earlier, your subfloor should be level, dry and free of debris at this stage in the process. So whether installing fresh onto the subfloor or installing on top of existing flooring, ensure the preparation has been completed first before proceeding to the next step of installation. The existing flooring SPC is suitable to fit over concrete, plywood, and vinyl, as long as the appropriate preparations have taken place.
Now the area is clear and prepared we can take accurate measurements to ensure we purchase the right amount of flooring for the space, making sure to allow for 10% extra material to account for expected wastage during installation. Our product pages have an in-built Room Calculator to make this step easier for you.
Installing the Flooring
Once the space is prepared, you have the right number of planks, and they have been given 48 hours to acclimate to the room, it’s time to get started on the actual installation. We utilise a click-and-lock system for our SPC flooring, which makes it straightforward to install without the need for adhesive and fixings. Follow our guide below for a simple installation process:
- Start with Spacers: By placing spaces along the edges of the room you will maintain a small gap between the wall and the flooring which provides ample space for the natural expansion, settling and shifting of the SPC planks.
- Lay the First Row: Begin laying the planks from one corner of the room, working your way across. Lock each plank into place by clicking the edges together.
- Cutting to Fit: As you reach the end of a row, you’ll find that some planks need cutting down to size to fit properly, this is expected and can be remedied using a utility knife and straight edge to score the plank and then snapping it cleanly along the line.
- Continue Laying: We stagger the planks in rows to provide a natural look, but from this point on you can continue clicking the planks into place, tapping gently with a soft mallet if needed for a snug fit, and you will complete your installation before you know it.
For visual guidance, you can once again refer to NüTile’s installation video here.
Conclusion
Installing SPC flooring is a rewarding project that brings the wonderful benefits of SPC flooring into your home, requiring only a few basic tools to do so. With a little careful preparation and the simple click-and-lock system, you’ll have beautiful new floors ready to wow and delight in no time at all.
Remember to check out NüTile’s full website for products, info, guides and more!