Subflooring is probably not something you think of very often but it is an integral part of your home's structure. The common subfloor of years past is the trusty old floorboard that some houses actually use as an architectural feature to draw the eye and wow visitors. But subfloors come in all sorts of varieties and understanding how to maintain your subfloor is the first step in ensuring your flooring is stable for years to come.
So today we’ll explore what a subfloor is, how to check for and assess damage, as well as how to prepare a healthy subfloor for your newest floor covering.
What is a Subfloor?
Subfloors are a structurally integral layer that sits between your flooring and your joists. The subfloor is necessary for ensuring there is a level and stable surface onto which your final floor covering sits. In most homes in the UK floorboards were the go-to choice for a subflooring material and are still common in many older houses. New builds however have changed with the times and subfloors tend to be more often made of Plywood, Oriented Strand Board, or simple concrete for ground floors.
These newer materials offer a larger surface area which makes it easier to maintain a level surface, the same or a greater level of strength and are cheaper and more sustainable than solid wood floorboards.
To understand what subfloors are it is appropriate to understand the construction of the floor entire.
Joists: Joists provide the foundation for flooring and are the load-bearing structure that ensures that everything that rests above it will be supported effectively. Joists are usually made of wood in residential settings and are the large thick beams you will find spaced evenly apart if you ever look under you’re flooring.
Subfloor: Once we have the structural integrity in place with the joists, we now need a flat and level surface to spread heavy loads out evenly across the joists. This is what a subfloor is used for. It adds strength by adding material onto the joists, whilst providing a stable surface over the gaps to evenly distribute weight across the joists. This makes your flooring stronger and turns it from a structural floor to a functional floor.
Underlay: Underlay is an optional component of subflooring and lays on top of the subfloor but below the main floor covering. It is used to provide comfort, a small amount of insulation, moisture protection, and a small amount of acoustic dampening.
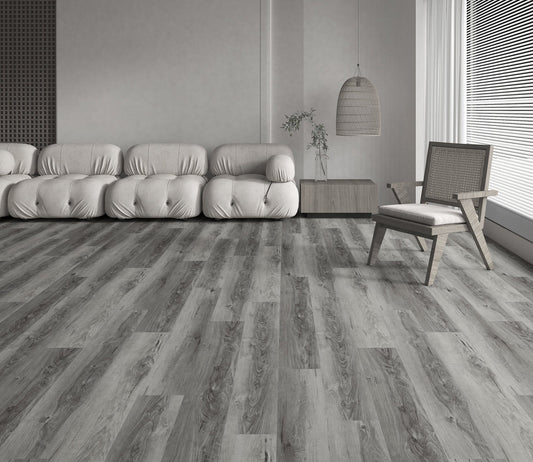
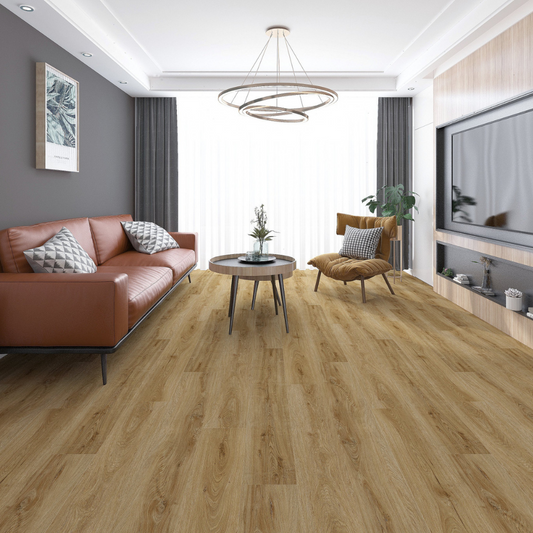
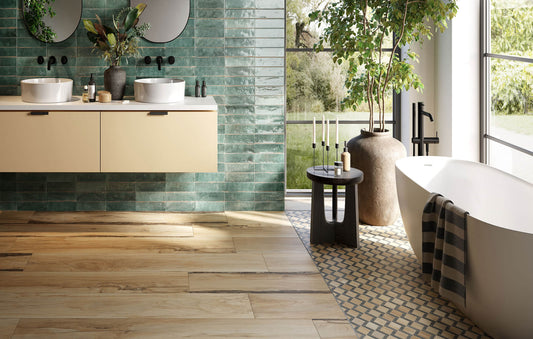
Flooring: Once we have our foundation in place we can now lay our chosen floor covering, whether it be hardwood, Luxury Vinyl Tiles or Stone Polymer Composites.
So, our subfloors are the weight distributors and surface levellers for each room in our homes to ensure that what goes on top is supported evenly to ensure strong level flooring for years to come.
Checking for Subfloor Damage
Being such an integral aspect of our floor structure it is immensely important then that we understand when our subfloor might be damaged, how to check and inspect any damages, and the appropriate way to repair or replace the subfloor.
A subfloor might become damaged for several reasons but the most likely suspect is moisture damage, followed by structural failure usually due to age or some sudden impact.
Bouncing Floors: Signs of subfloor damage may become obvious if you feel that your floors are bouncy or spongy. Subfloors maintain a level surface and structural integrity, so as you walk across your flooring if any areas appear to have a bounce to them, or you can feel some sort of compression, it is a good sign that your subfloor needs inspecting.
Uneven Flooring: In the same way if you find that you have cracked tiles or uneven flooring then your subfloor may be compromised, no longer providing a stable surface, and causing enough movement to crack your tiles. And if the floor seems simply uneven where there is a clear dip, gradient or sagging across the floor then this is another sign that something has gone awry and further inspection is necessary.
Creaking Floors: Excessive creaking is also a sign of a compromised subfloor. Some amount of creaking is normal and can often be due to the top flooring cover shifting underfoot. But if the creaks are extra loud, or across the whole flooring then it is indicative of a deeper problem and requires a closer look.
Damp and Musty Smells: The easiest way to be assured of water damage to your subfloors is from a damp and musty smell emanating from the room. Damp causes tremendous problems in houses as the foundation of most structures includes wood to a large degree. When moisture gets into the wood it creates a perfect breeding ground for mould, and the ongoing exposure to moisture causes the wood to rot and lose all structural integrity. So, if you do smell damp in your house, get it checked out as soon as possible.
Known Water Damage: It can be easy to identify water damage if you know you have recently had a leak from a broken pipe, broken washing machine or a flooded bathroom. If water has been sitting on your floors for any reason for some time it is likely it has gotten into your flooring and will soon cause problems so be sure to call a professional before it is too late.
Replacing the Subfloor
As your subfloor provides the structural integrity for your home or property, if it becomes compromised it can reduce the amount of load the flooring can bear and if the damage is severe enough then the consequences can be disastrous.
Therefore, if you suspect there might be any damage to your flooring it is imperative to get it checked out as soon as possible. If you feel confident it is possible to check the subfloor in a few ways but most of them tend to be invasive in one way or another and may require the entire floor covering to be removed to see the full extent of the damage.
If you have any hesitations or doubts, please get in touch with your local professional who will be able to assess the level of damage and help you understand what is needed to repair the subfloor or if a full replacement is needed instead.
In cases of minor damage, especially those discovered during a flooring refit, then simple care needs to be taken to reattach loose boards and check the structural integrity and the level of the subfloor. If everything is secure and level then you’ll be free to lay your new flooring choice without a problem.
Preparing a Subfloor for New Flooring
So, if you're looking to install new flooring over your subfloor, you’ll want to know the best practices for the best finish and the greatest longevity.
Once all damage has been assessed and we can confidently say our subflooring is ready and able to support the load of daily use as it is intended, then we need to prepare our subfloor in a few key ways.
A Clean and Dry Subfloor is Key: As we have covered ensuring that your subfloor is free from moisture is absolutely vital. Once your new flooring is laid on top you are essentially sealing in the moisture that is present at the time of laying your new floor. If the subfloor has been exposed to moisture and not had a chance to dry out then it is imperative that you do so.
Once free of moisture we want to check our subfloor is free of any dirt or debris. We need our subfloor to be level for when we lay on our final floor covering as any deviation will transfer to the flooring underfoot and not only create structural problems later on but will be noticeable every time you step on it.
So, check your subfloor is dry and give it a good sweep and vac to remove all dust, dirt, and debris from the surface.
Check if it is Level: Once it is free of debris on its surface we also need to check if the subfloor is level enough to lay our floor covering over. A professional fitter can do the job for you but if you are interested in it yourself then using a carpenter’s level, also known as a spirit level, a straight edge or a laser level is essential to check the floor is even throughout.
Using a carpenter’s level you simply lay the tool on the floor and check that the bubble sits within the designated markings. If the bubble leans to either side then the floor slopes upwards towards the bubble. Take care to methodically go around the room and mark the areas and directions where the floor is uneven.
With a straight edge, we can check the surface for any deviations. By placing a straight edge across the floor, we can identify if there are any gaps underneath, if we can see light through the bottom of the ruler then we have identified an uneven area of flooring.
And finally, a laser level will do all of the above but with precision accuracy and ease. Able to offer accurate measurements and clearly show deviations across all angles of the floor.
Once we have identified any irregularities, we need to check whether they fit within usable tolerances. A professional can do this for you but if you are interested for yourself the generally accepted tolerances are as follows.
Tiles and Vinyl: Tiles and Vinyl flooring require the flattest subfloor and should only deviate by 1.6mm in height over 1 meter of subflooring.
Wood and Laminate: Slightly more forgiving, when fitting wood or laminate a subfloor can deviate by 3mm over 1.8m of subflooring.
Addressing Imperfections: If you do find minor imperfections in the subfloor these can be handled with relative ease by using a self-levelling compound, which is a pre-made material that pours easily and follows the slope downhill. As it sets it brings the low spot in line with the highest point on the subfloor and creates that smooth and level surface we are after.
If you have minor dips in the subfloor rather than long slopes then a patching material will do, this can be a simple wood or poly filler to seal up the gaps.
If you take these steps, you’ll be sure to have a ready and level subfloor to receive your newest floor covering.
Conclusion
Subflooring is such an integral and foundational structure to any room yet it receives very little thought and attention. We hope today the importance of understanding the role of your subfloor has brought its role to greater prominence in your mind.
By listening out for any issues and damage that may have arisen in the subfloor we can be proactive in addressing and repairing these issues before worse damage occurs.
Once we know our subfloor is in good health, we can then follow the tips above for the best subfloor preparation possible and ensure the new flooring we are excited to fit will be fitted onto the most stable and supportive surface possible.
When considering new flooring options we recommend our Nütile range for flooring that is beautiful to look at, and strong enough to protect your subflooring underneath whilst maintaining a healthy moisture barrier to keep your subfloor dry for years to come.